MELT & POUR SOAP BASE GUIDE
1. Melt
Determine the amount of ClearLee soap base needed and cut into small pieces to place in a microwave safe bowl.
Heat on low at 15-30 second intervals while stirring in between until soap is fully liquid. Soap can also be melted in a double boiler.
Handle melted soap carefully, as it can burn your skin!
2. Customize
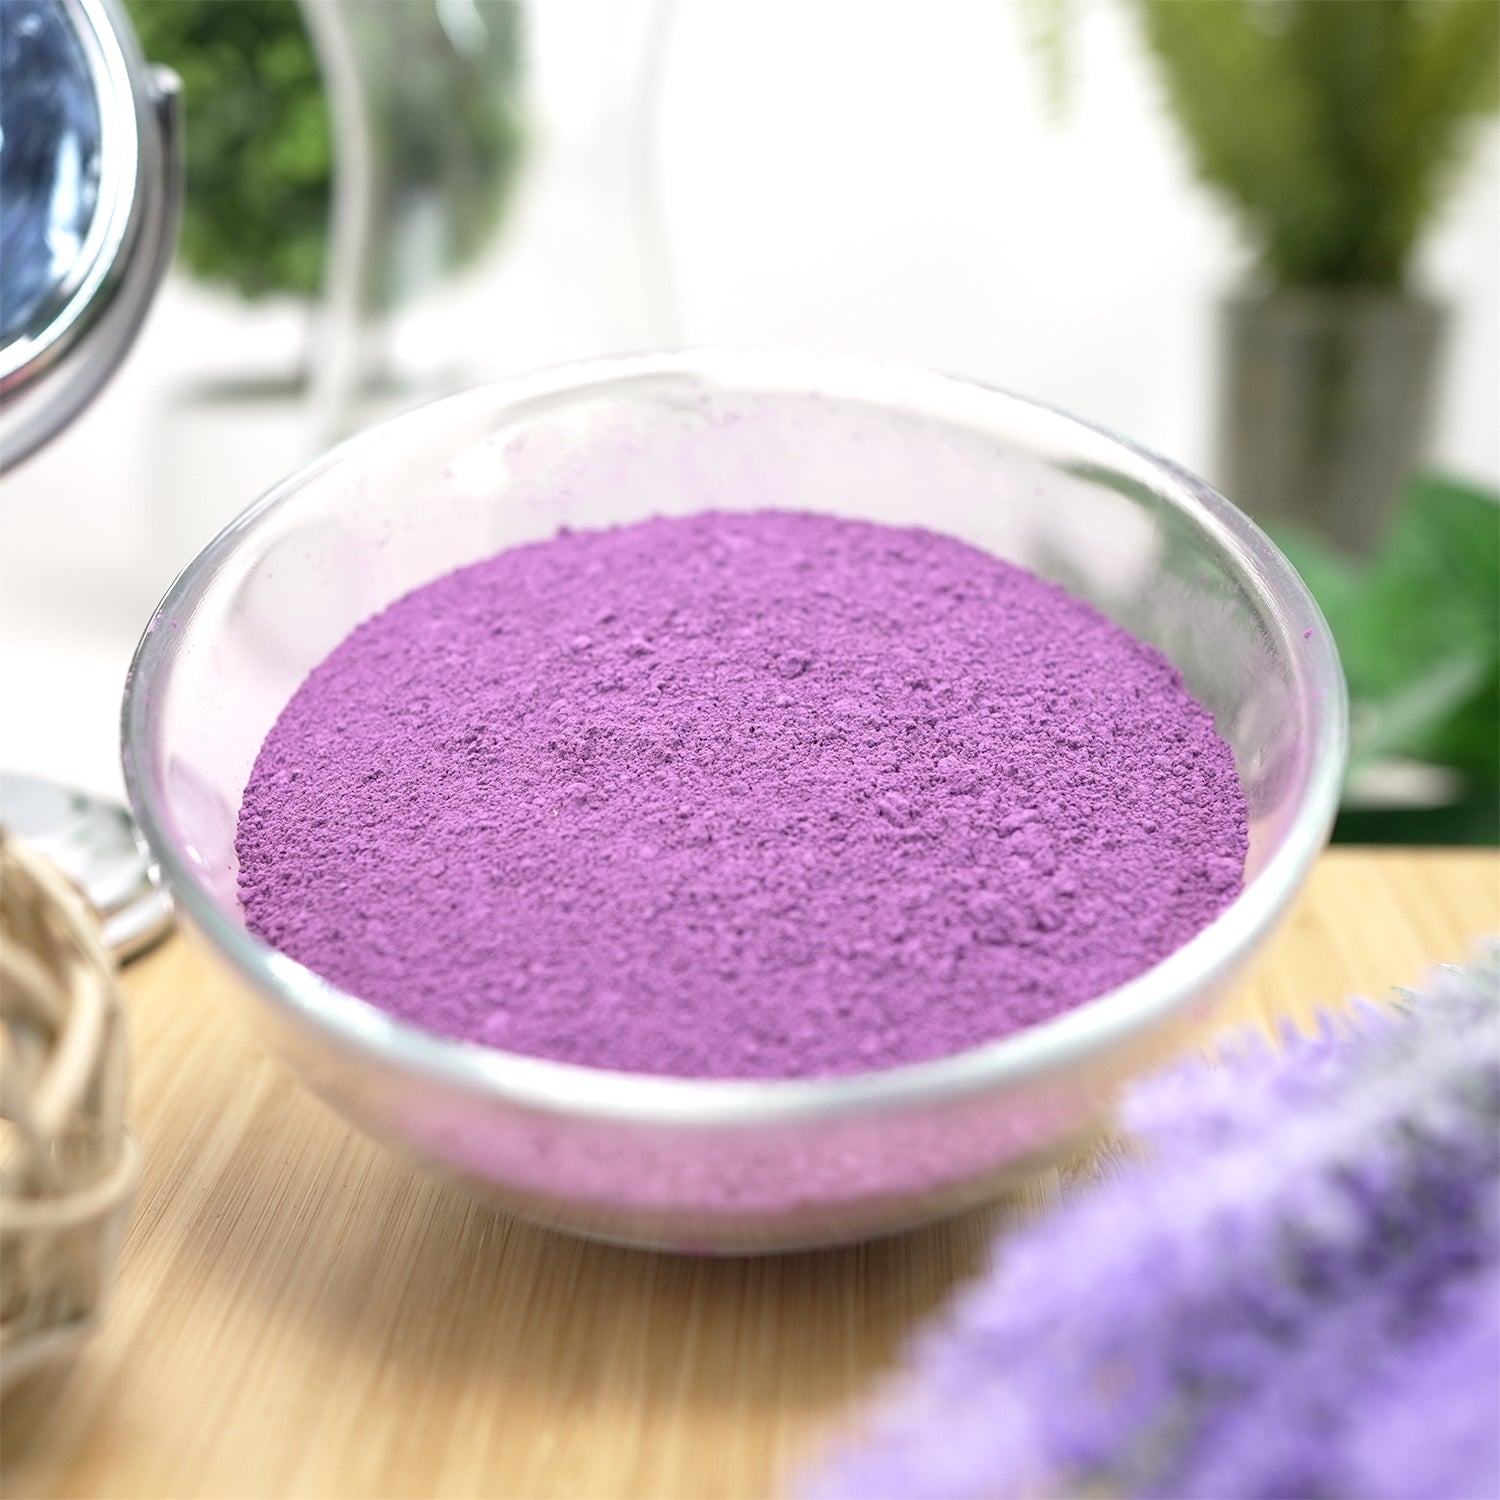
Add the fragrances and colors of your choice and stir evenly.
- For essential oils, check the denaturation point with melted soap temperature to keep its properties!
- For a solid color, add colorant and mix thoroughly. For swirls, split the melted soap base into separate bowls, add colorant individually, and mix back into mold and swirl with a fork or skewer.
- The final soap color may not be the exact color of the colorant due to the natural color of the soap, so keep that in mind!
PRO TIP:
Try adding ClearLee Cosmetic Grade Clays for extra smoothness and slip! Make sure additions are fully dried for best results.
3. Shape, Cool, & Enjoy!
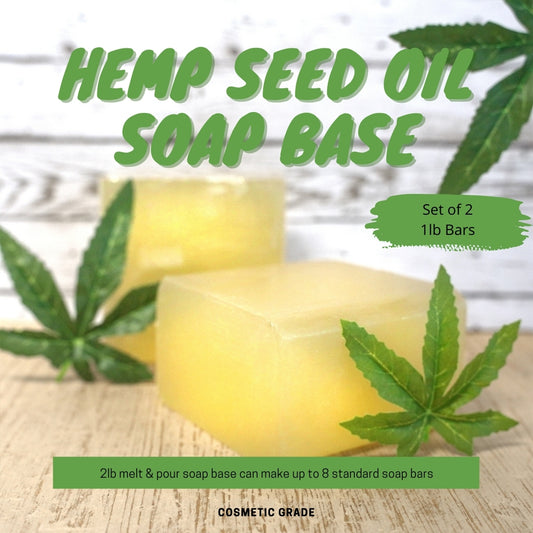
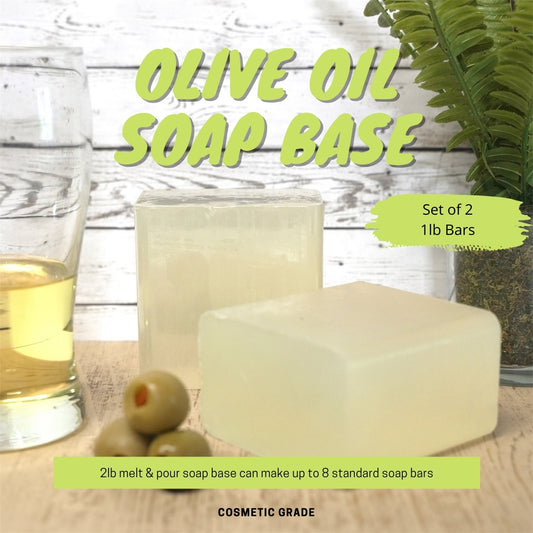
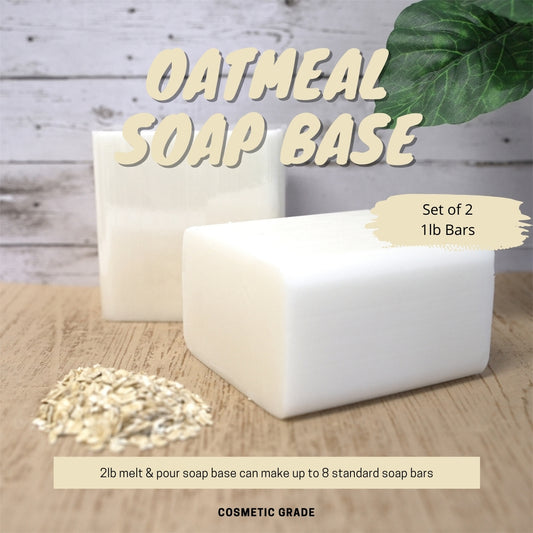
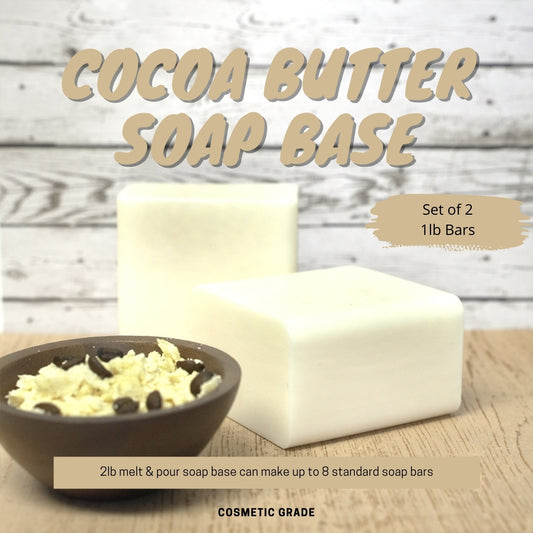
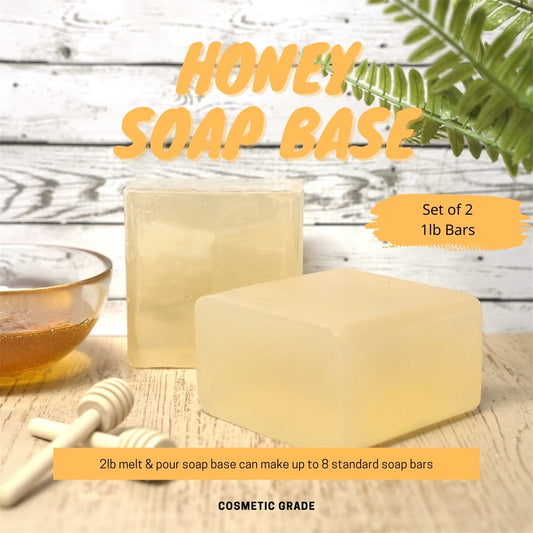
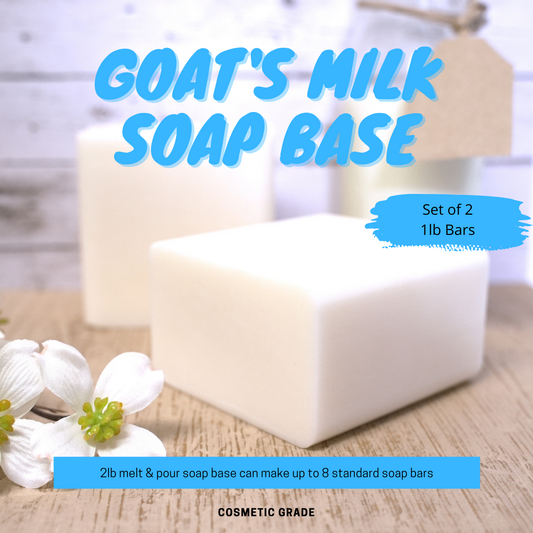
Add melted and customized soap base to any soap mold. 2lbs of ClearLee Melt & Pour Soap Base will create 8 standard 4oz soap bars!
Cover and cool soap at room temperature until completely hard (about 4-6 hours or overnight for best results). You can also refrigerate your soap if you're in a pinch! Do NOT cool in a freezer, as it may distort the final product or separate your additives.
Enjoy your final creation with family and friends!
SOAP BASES
-
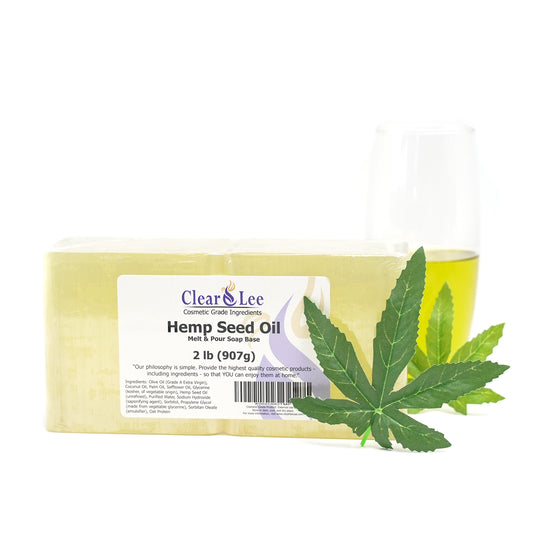
Hemp Seed Oil Melt & Pour Soap Base
Regular price $ 18.95 USDRegular priceUnit price per -
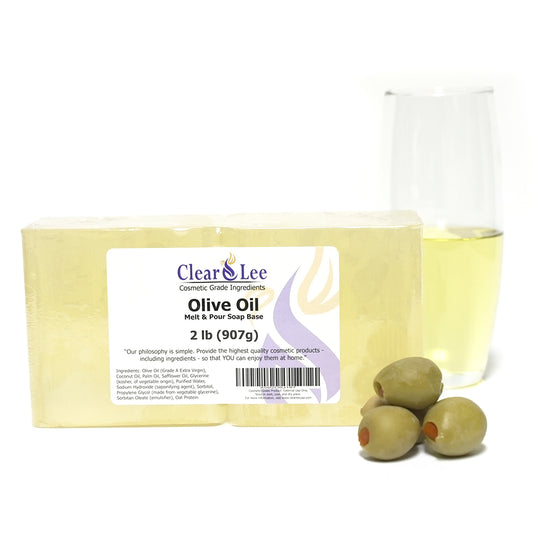
Olive Oil Melt & Pour Soap Base
Regular price $ 18.95 USDRegular priceUnit price per -
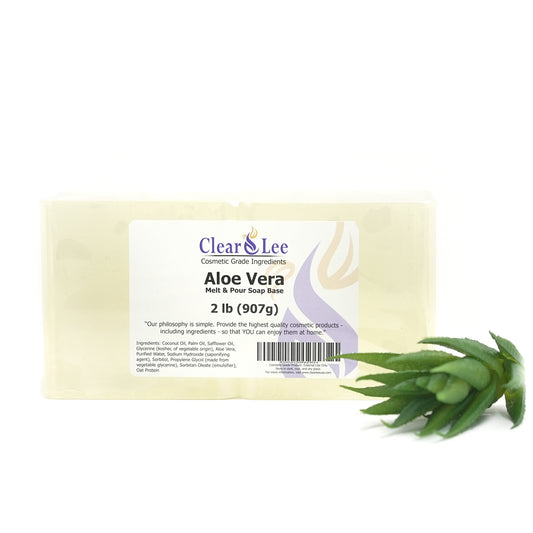
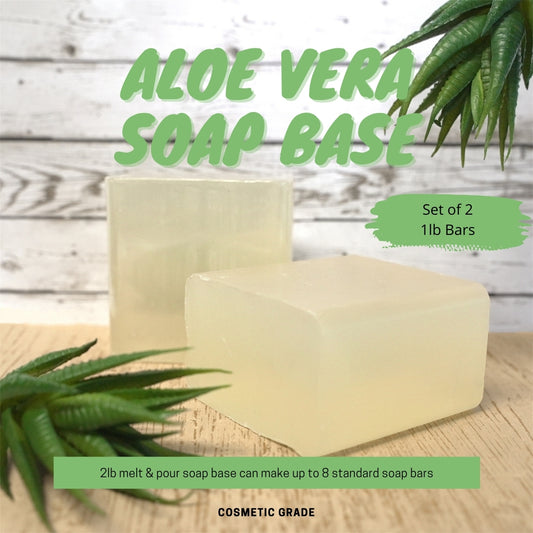
Aloe Vera Melt & Pour Soap Base
Regular price $ 19.95 USDRegular priceUnit price per -
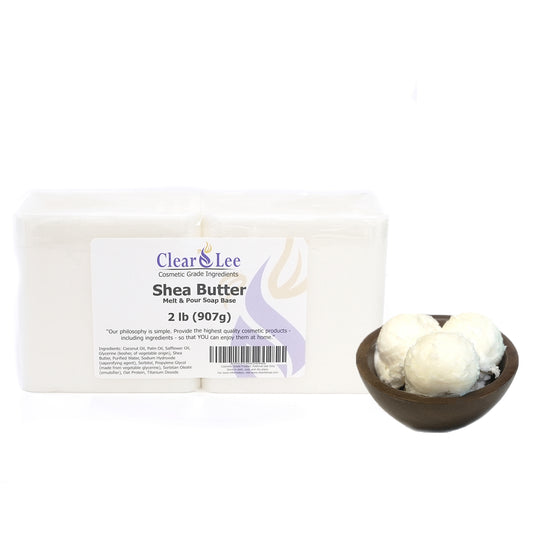
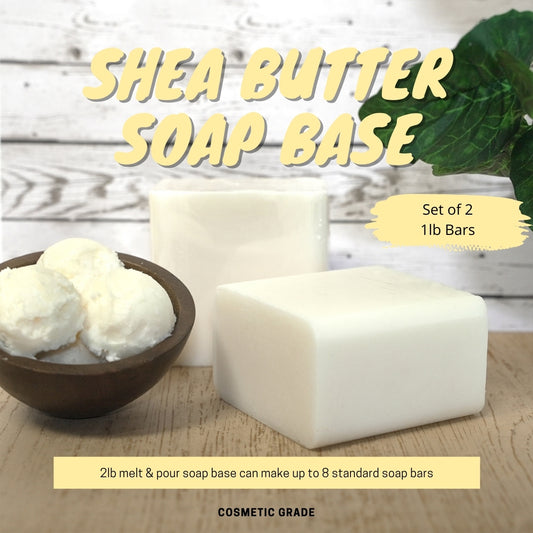
Shea Butter Melt & Pour Soap Base
Regular price $ 18.95 USDRegular priceUnit price per -
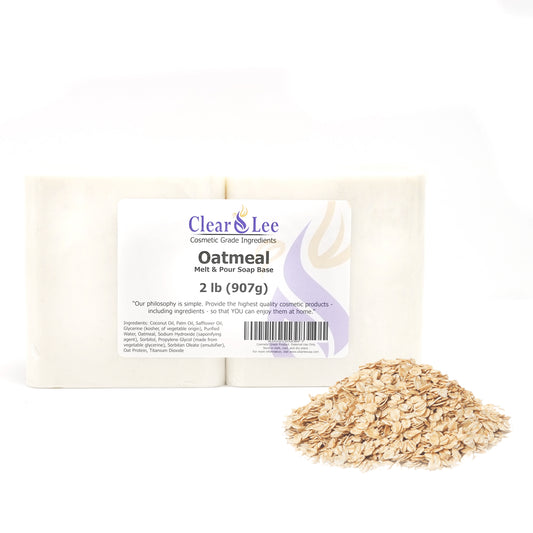
Oatmeal Melt & Pour Soap Base
Regular price $ 17.95 USDRegular priceUnit price per -
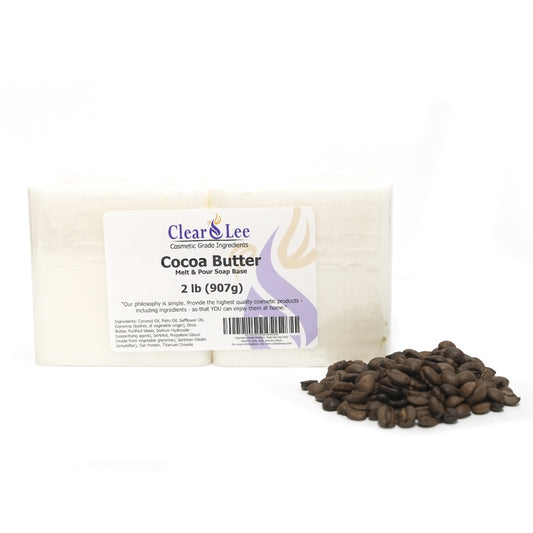
Cocoa Butter Melt & Pour Soap Base
Regular price $ 19.95 USDRegular priceUnit price per -
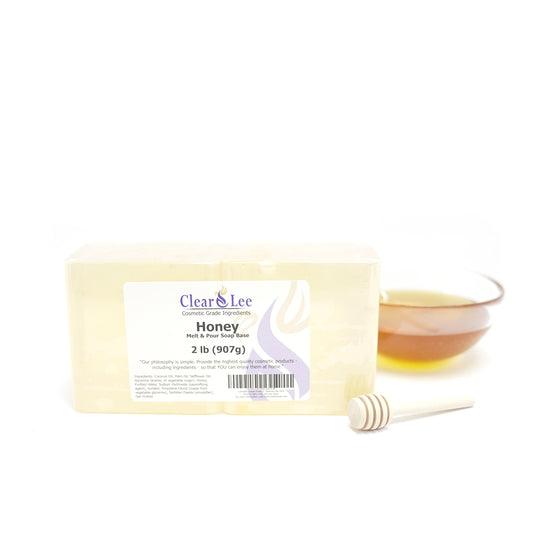
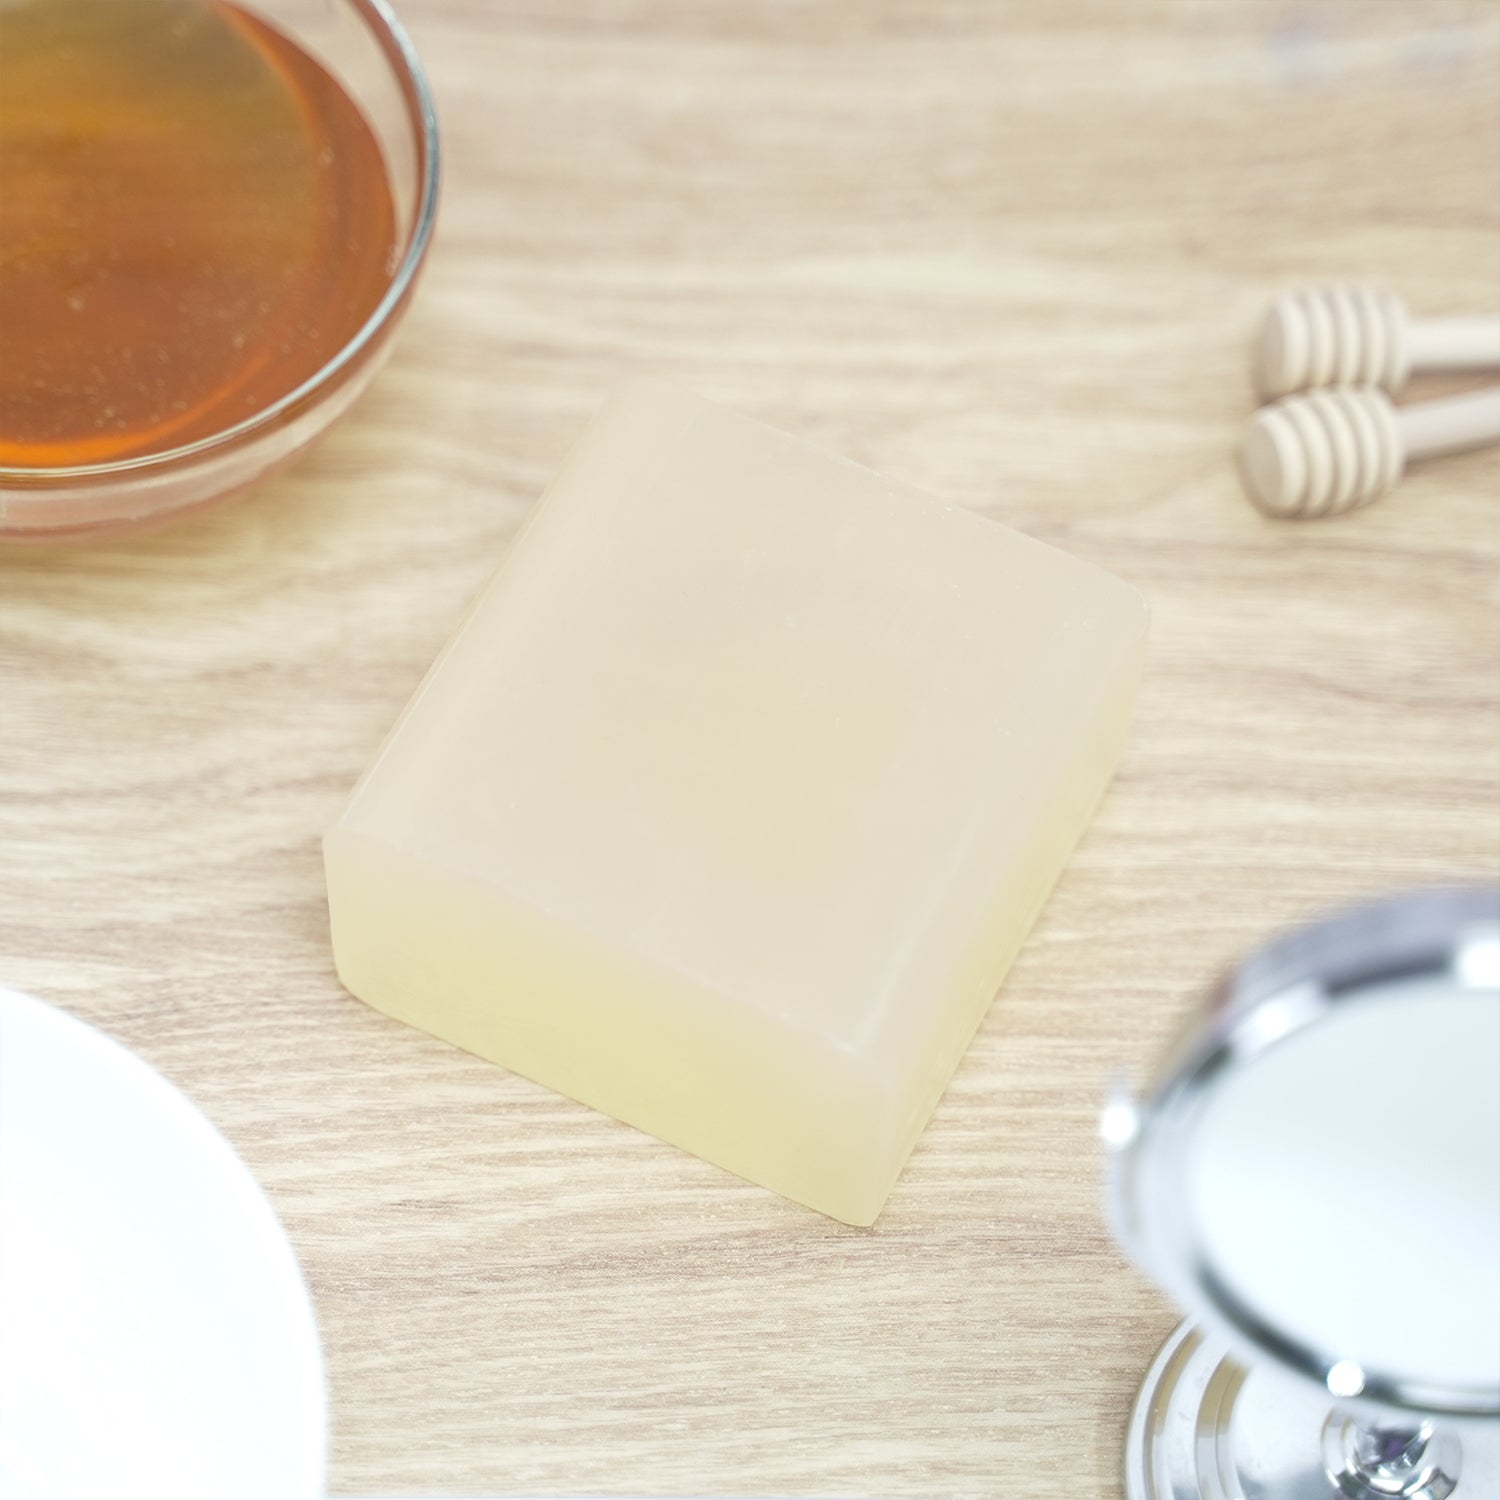
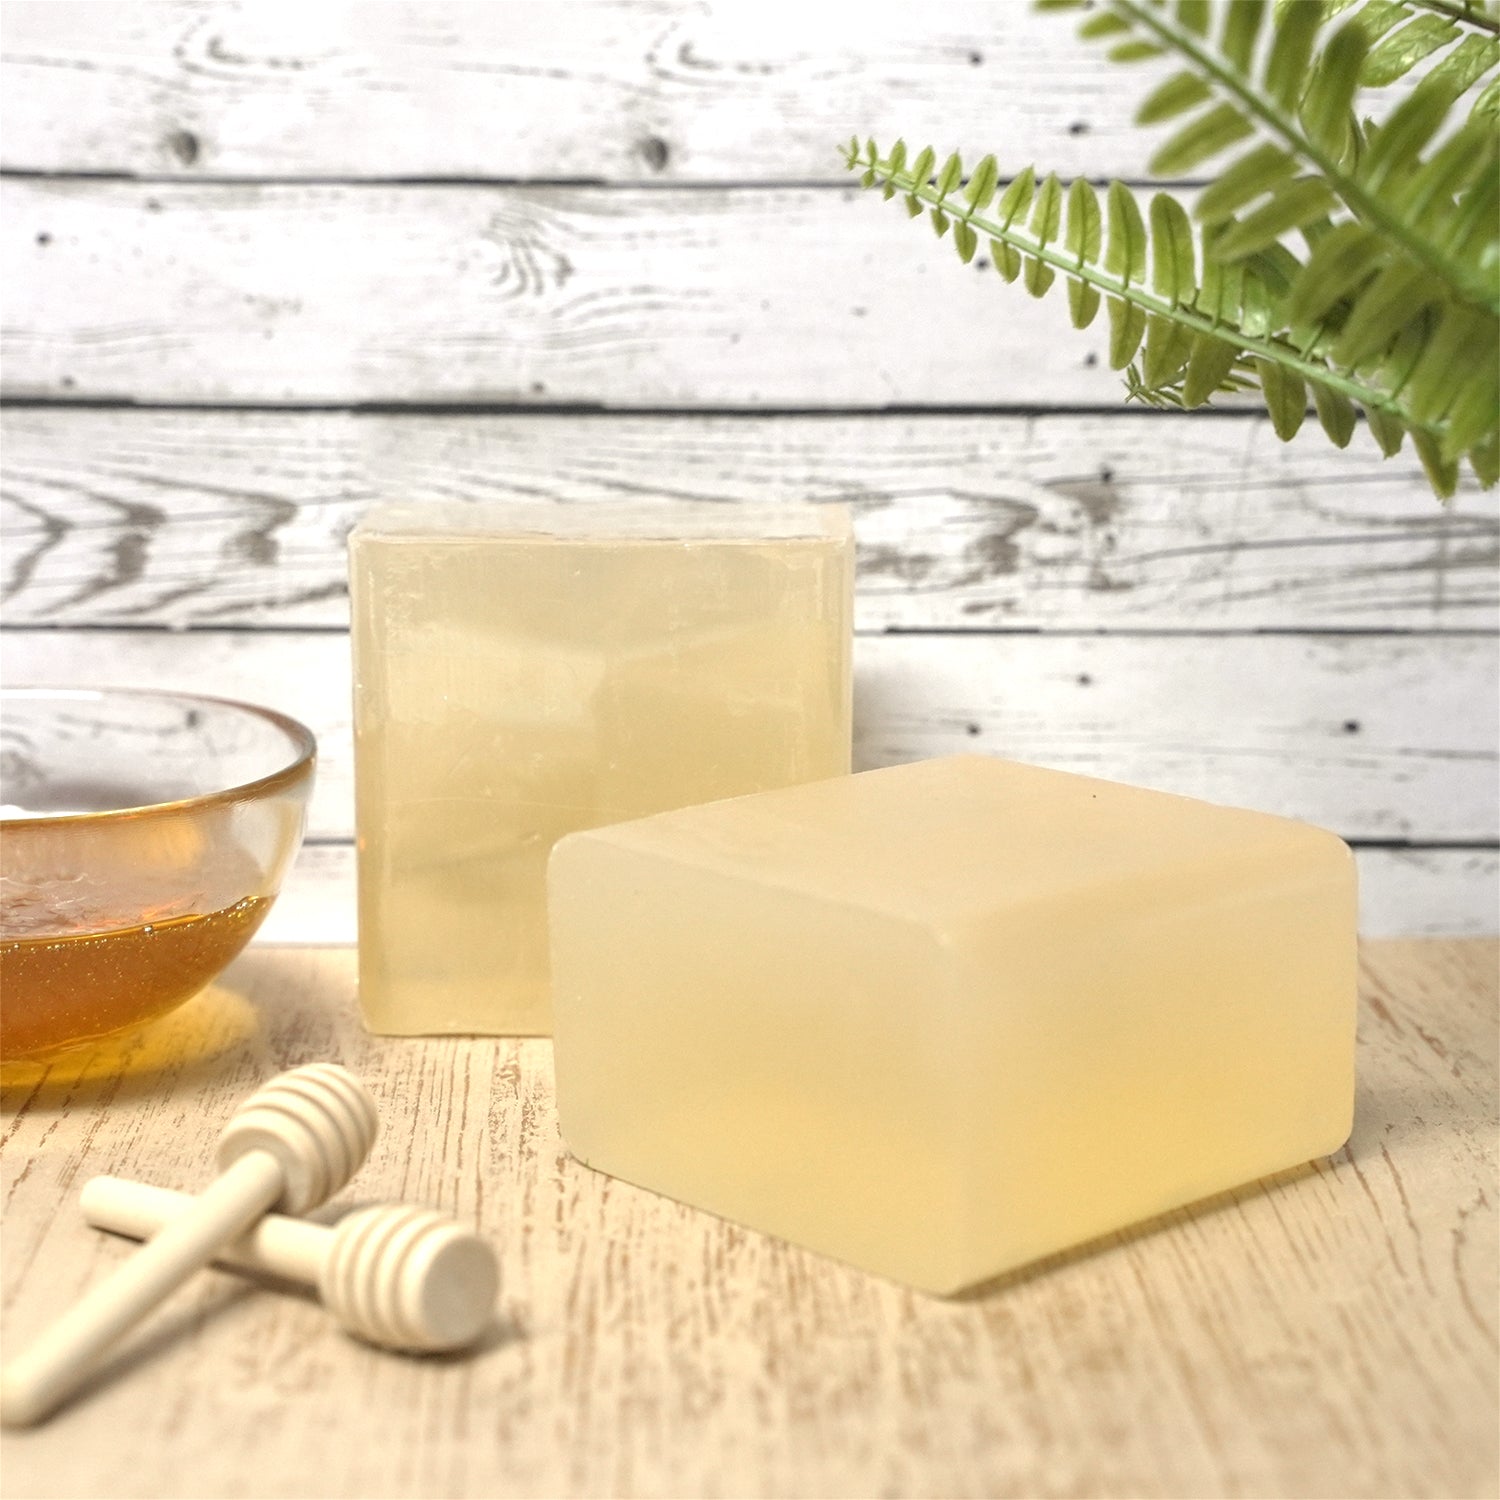
Honey Melt & Pour Soap Base
Regular price $ 19.95 USDRegular priceUnit price per -
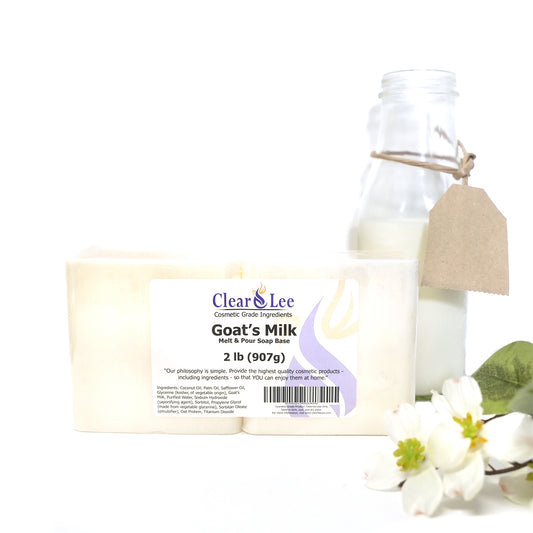
Goat's Milk Melt & Pour Soap Base
Regular price $ 19.95 USDRegular priceUnit price per